Posts

Assessment 2: Ferrari 250 GTO Documentation

Image
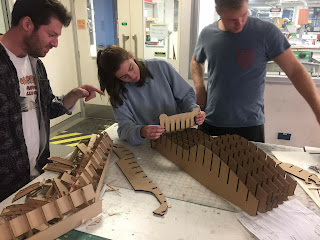
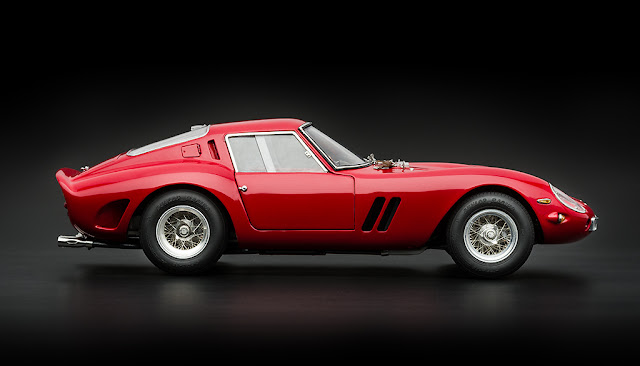
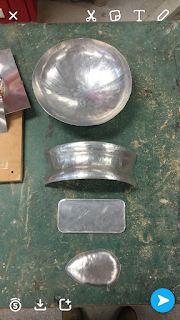
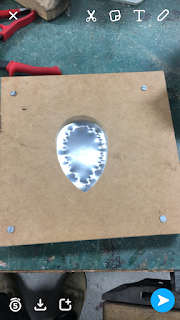
For the individual component of this assignment, the Ferrari panels were split evenly among the group members. For my individual part I selected the right hand side front fender. I was aware that this would be a challenging piece that would require most of the techniques of metal shaping that we had covered in previous class tutorials and assignments, such as the bowl and reverse curve. Assembling the buck The Buck My Individual Piece: Right Hand Side Front Fender RHS Front Fender Stencil The most frequently used tools. RHS Fender beginning to form. Smoothing out and tightening fit. Extreme precision. Tightly fitted sweeping curves. The finished product after a light sand and polish. This fender really is beautiful. From any angle. Stunning curves. The final product over the top of an image of the Ferrari 250 GTO. Note the accuracy of the curves emphasized by the l

Ferrari 250 GTO Tutorial & Reflection

Image
This tutorial will cover the group and individual processes undertaken to create a scale model aluminium skin of a Ferrari 250 GTO (pictured above). The first task is to create a 'buck'. A buck is the mould, or skeleton that the aluminium panels will be tested on to look for imperfections in the panels that require further attention. The aim is to have all panels fit snug when applied to the buck, with edges of panels meeting flush. To begin making the buck, download the available .STL model, import into a slicing program. The idea behind the slicing is to create a series of sections running along an X & Y axis that can fit together to give a suggested shape. An appropriate slicing program would be Autodesk's Fusion 360, which is free for students. With the .STL file imported, select the number of slices requires on the X & Y planes, then select 'get plans'. This will allow you to export a file with 2D vector lines of each of the panels that wil

All together now!

Image

Blistering Barnacles!

Image
The aim of this task was to form a 'blister' in a piece of sheet aluminium. To do this, a teardrop shape was cut out of two MDF boards, the sheet aluminium was placed between them and all fastened securely with four nuts and bolts in the corners. With the sheet aluminum secured in place, the blistering technique began. A small end of an egg shaped mallet was used first to form an edge to work with. Substantial stretching of the inner section, a sign of a quality blister. Excess material has been trimmed off. Edges were lightly filed and then sanded to finish. C'est magnifique.